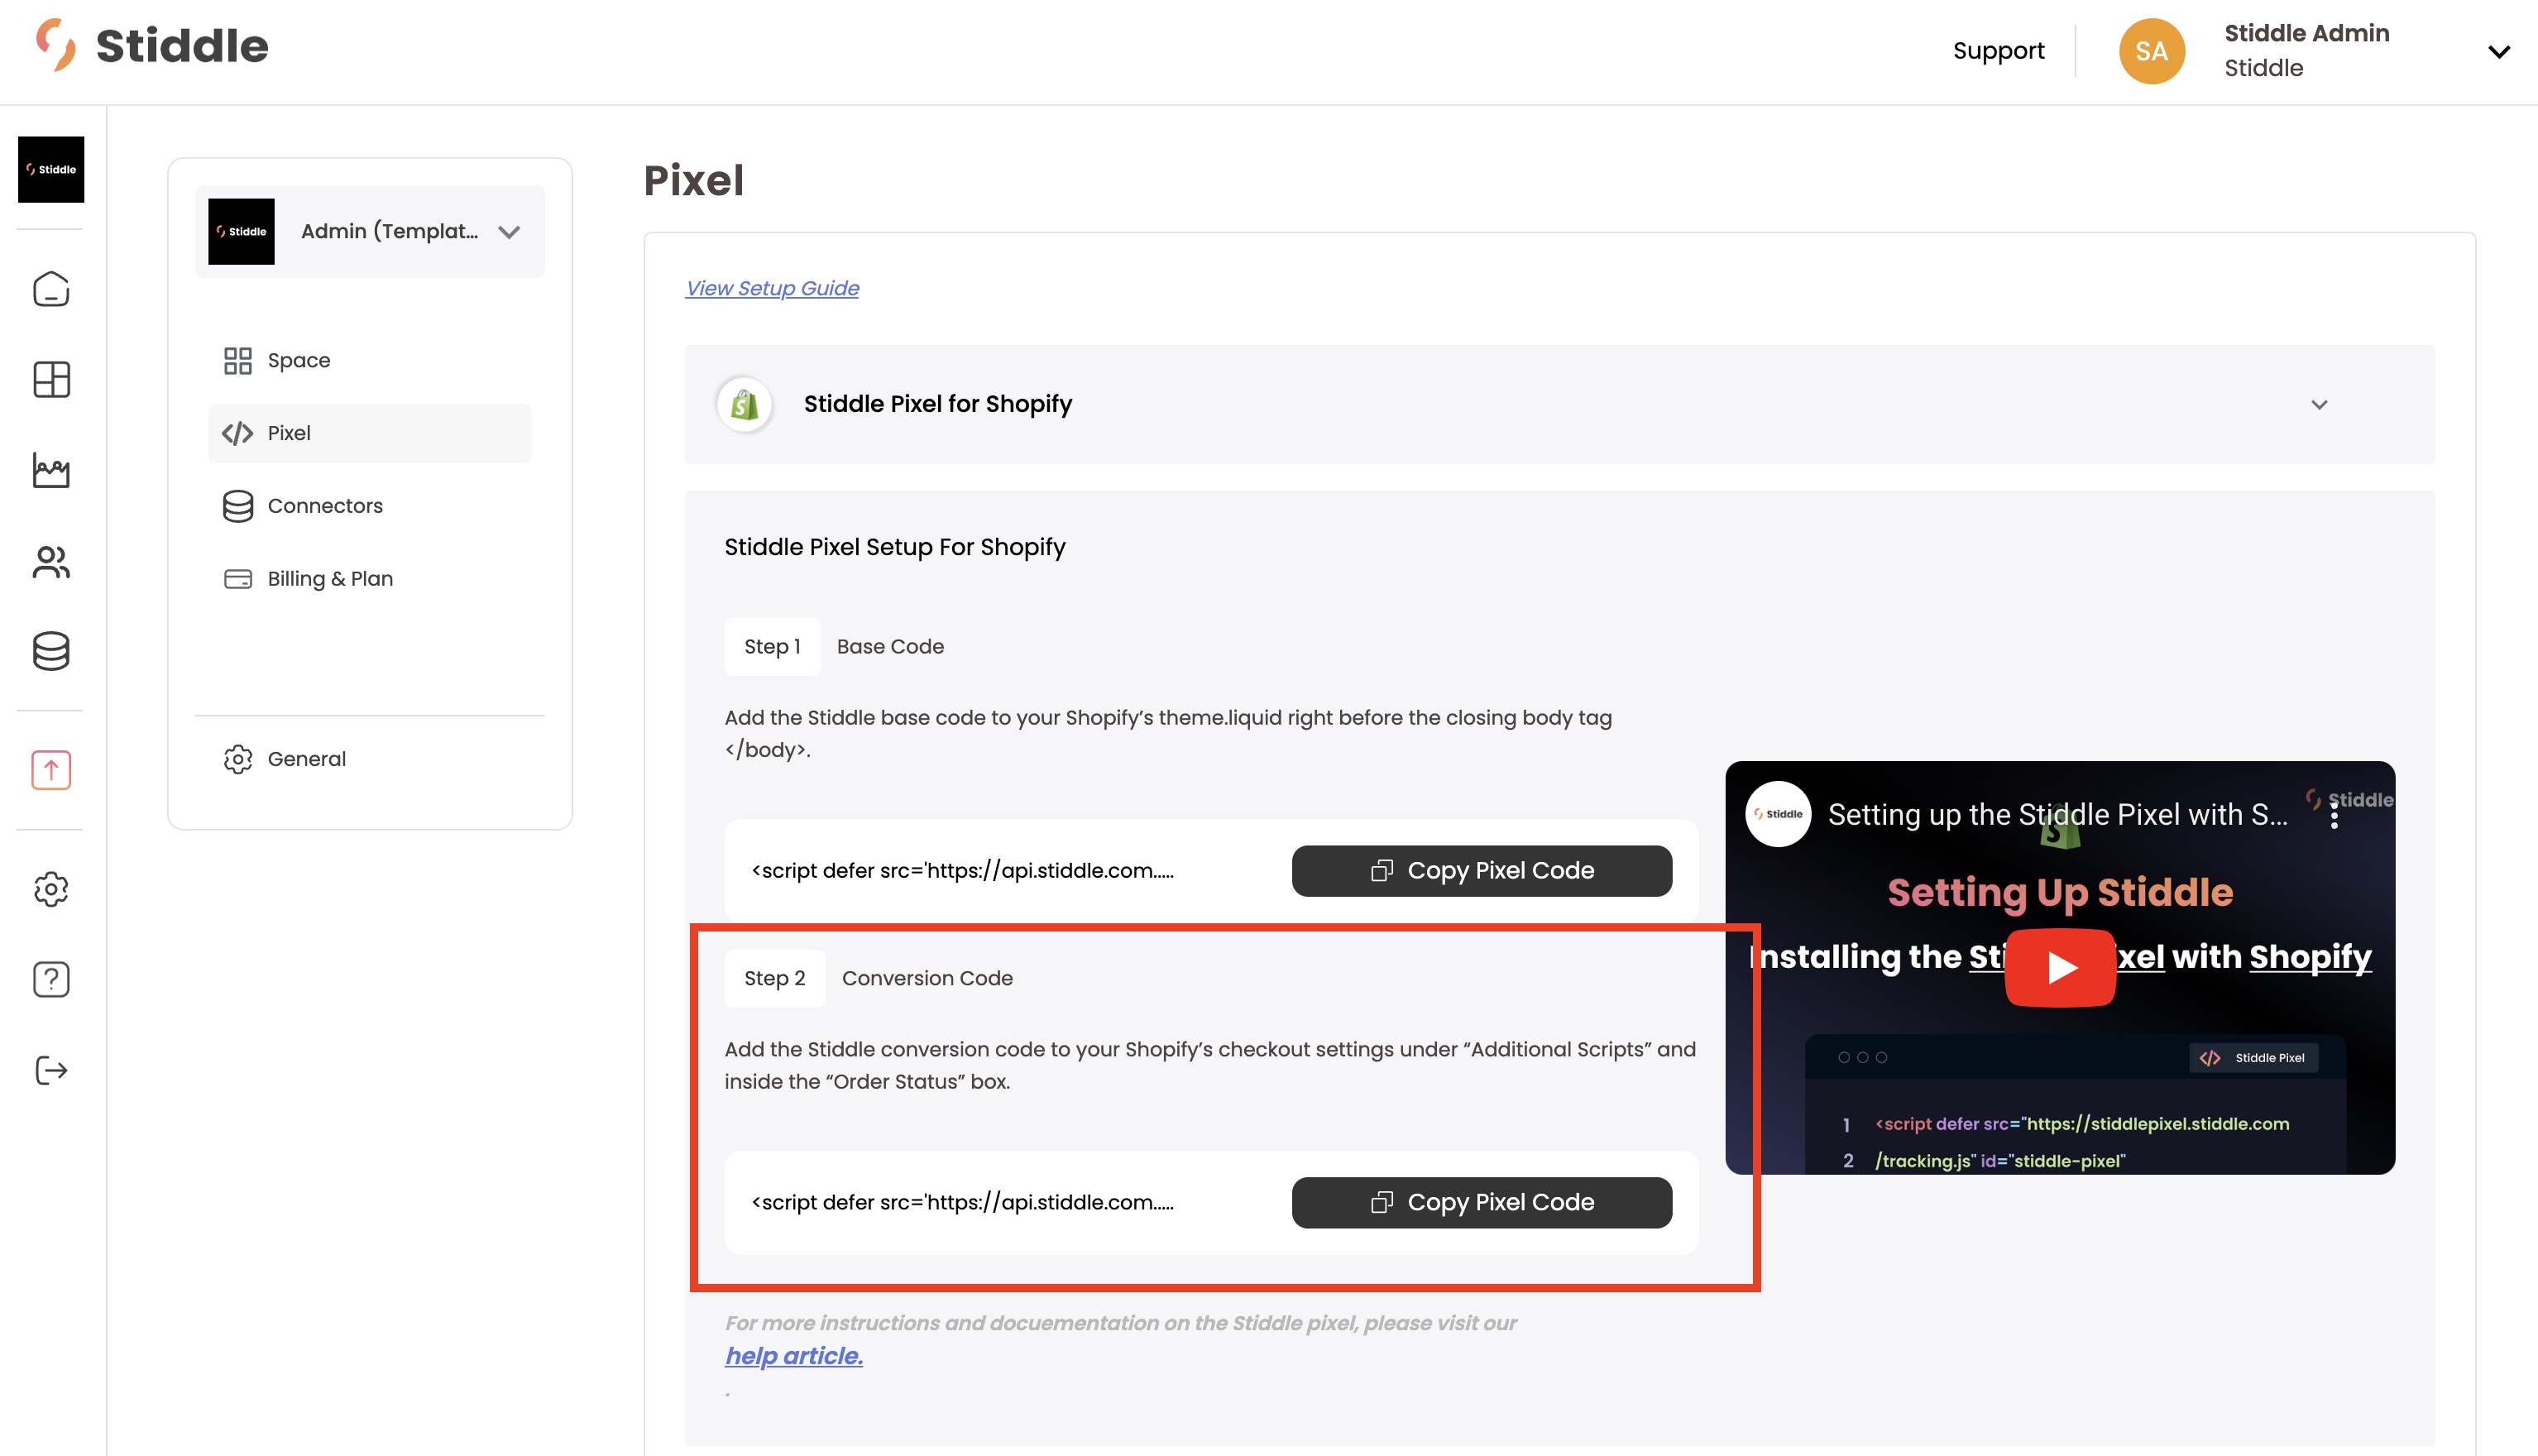
In this tutorial we’ll walk you through the following steps to setup your Stiddle Pixel with your Shopify store.
Installing The Stiddle Pixel With Shopify
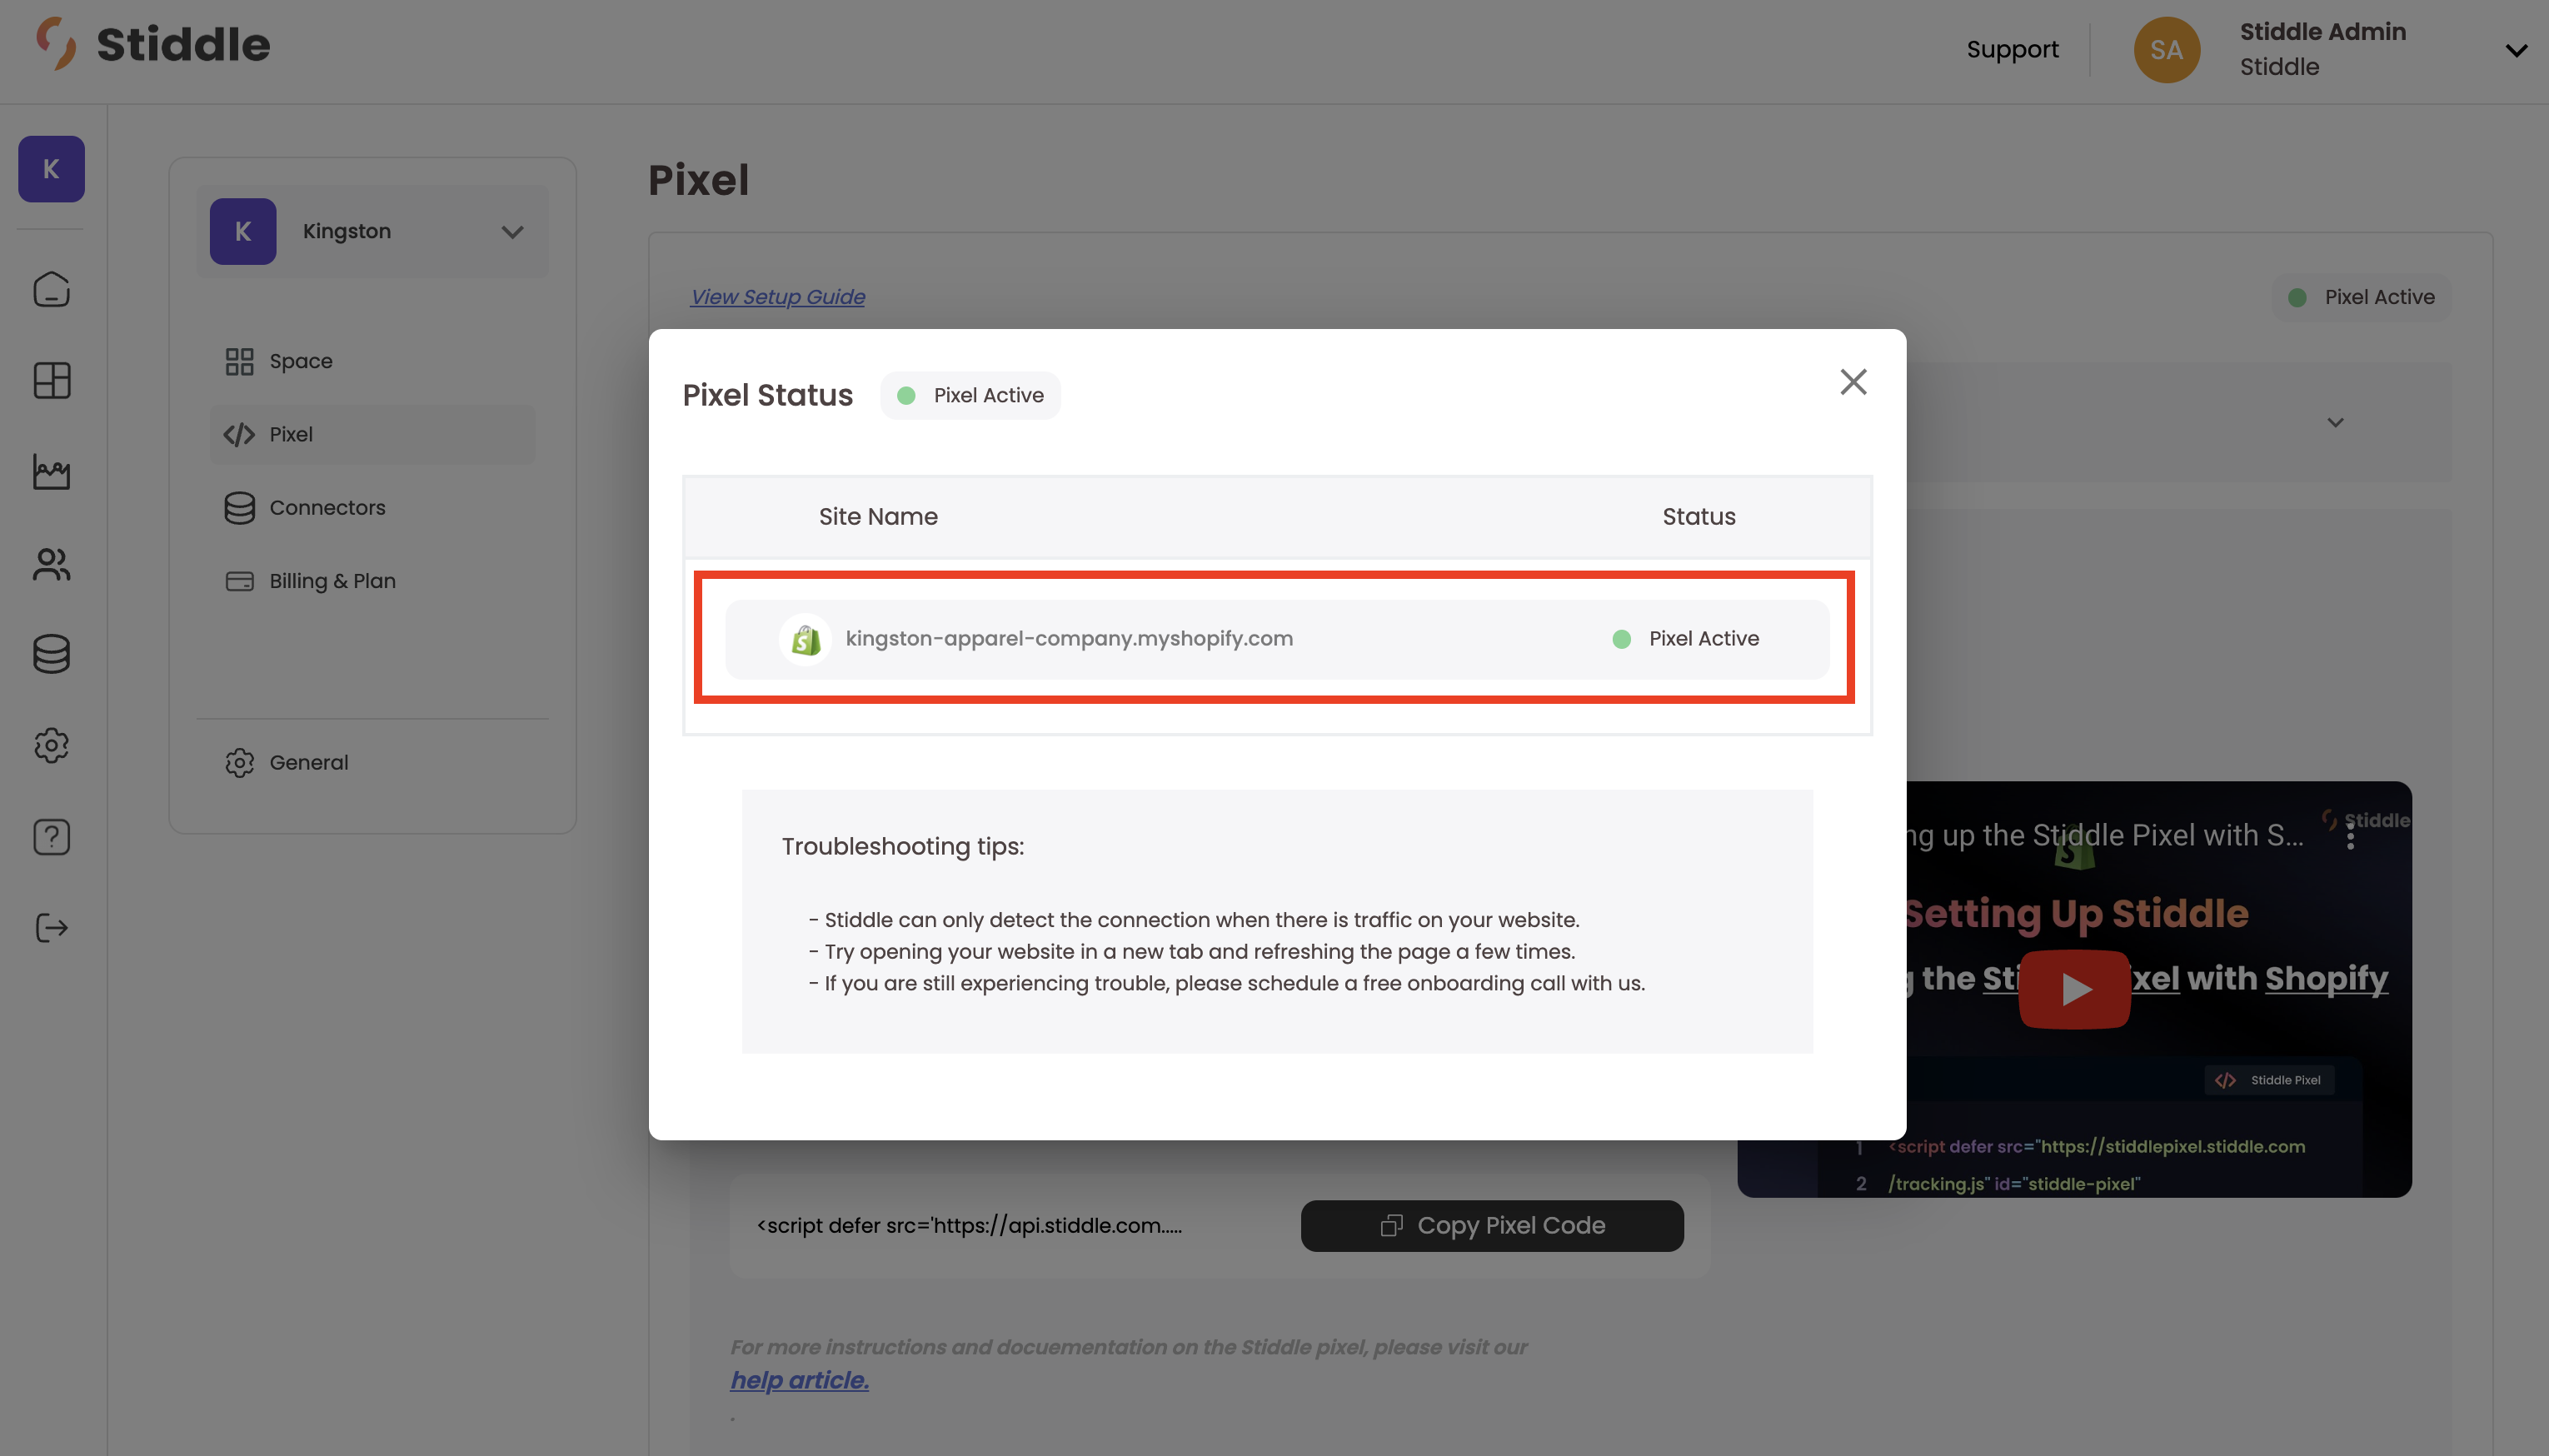
The Stiddle Pixel helps track and identify visitors from your site. This is required for accurate attribution and identity resolution. Please make sure to follow the steps exactly as they are described below. If set up incorrectly, Stiddle won’t be able to track and identify your customers - resulting in inaccurate ad tracking. At any point during setup you face issues or have questions with setup, please don’t hesitate to contact one of our support team members - we’re here to help! Getting Started To find your Stiddle Pixel, select the workspace you want to enable and set up the pixel for. Once selected, navigate to the left hand navigation, select “Settings” and select “Pixel”.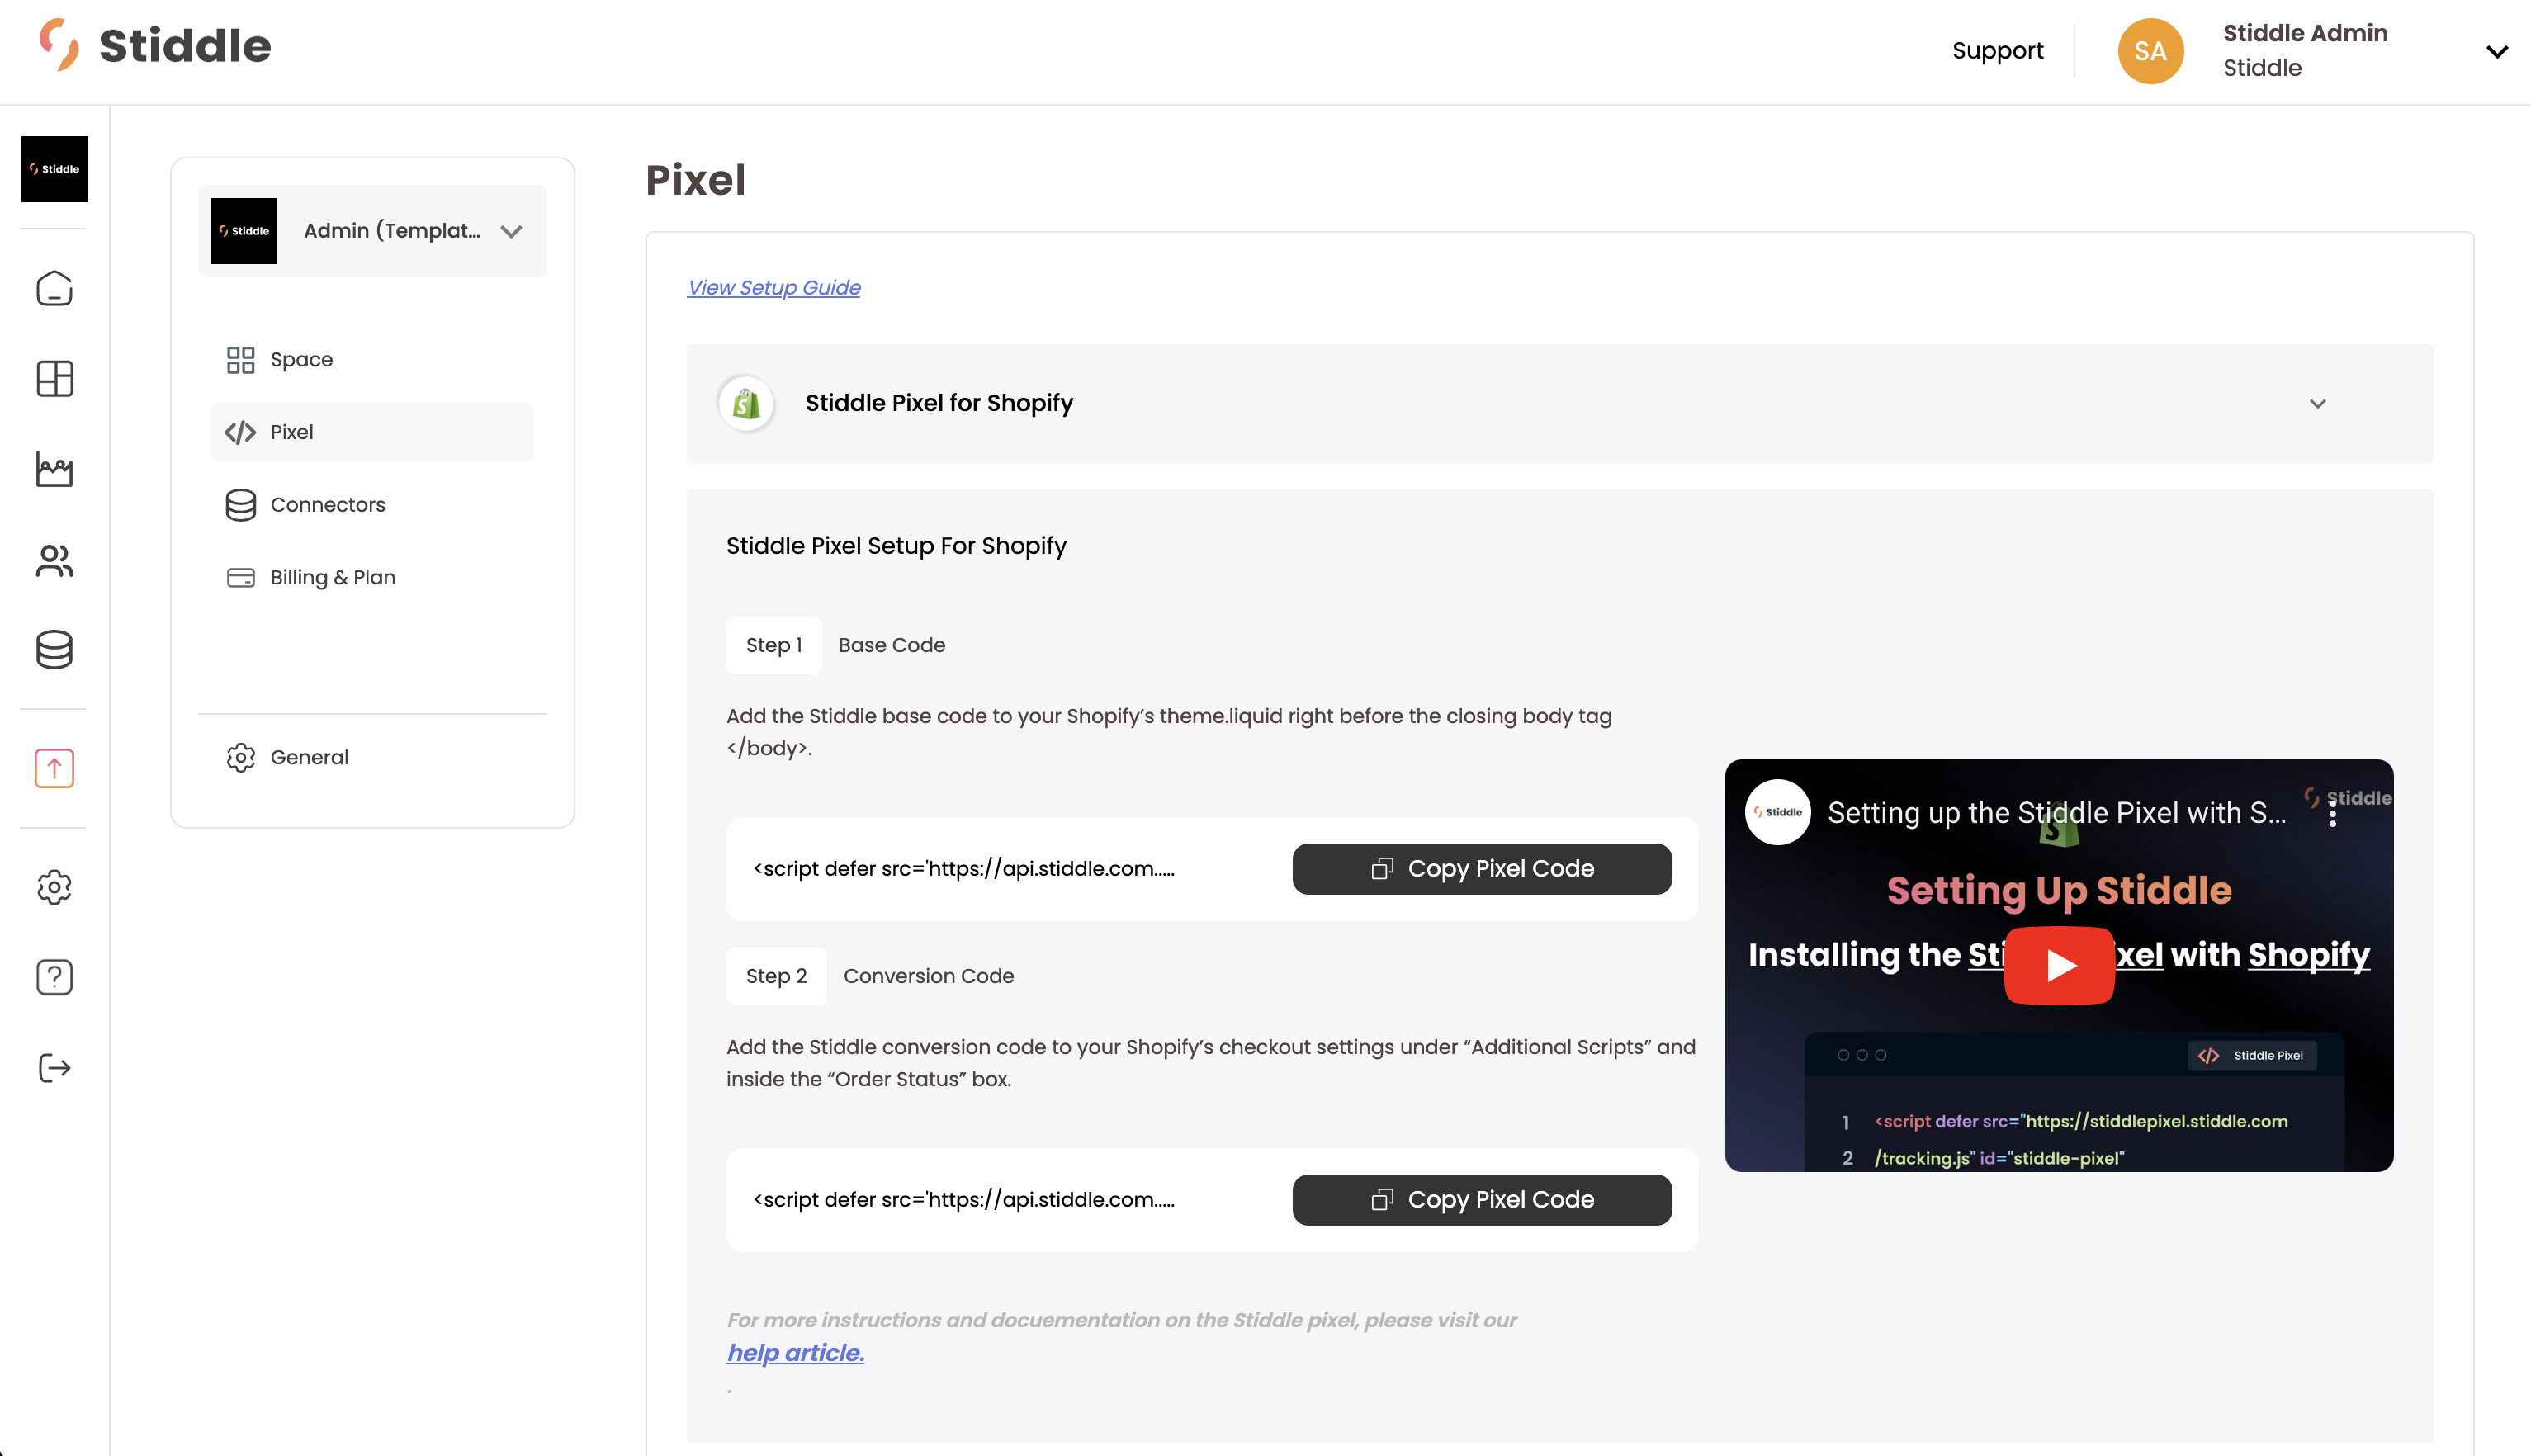


Connecting Shopify to Stiddle
Connect Shopify to Stiddle to start syncing your Shopify data for a single source of truth with purchase tracking, attribution, identity resolution, and analytics.
Connecting The Shopify App
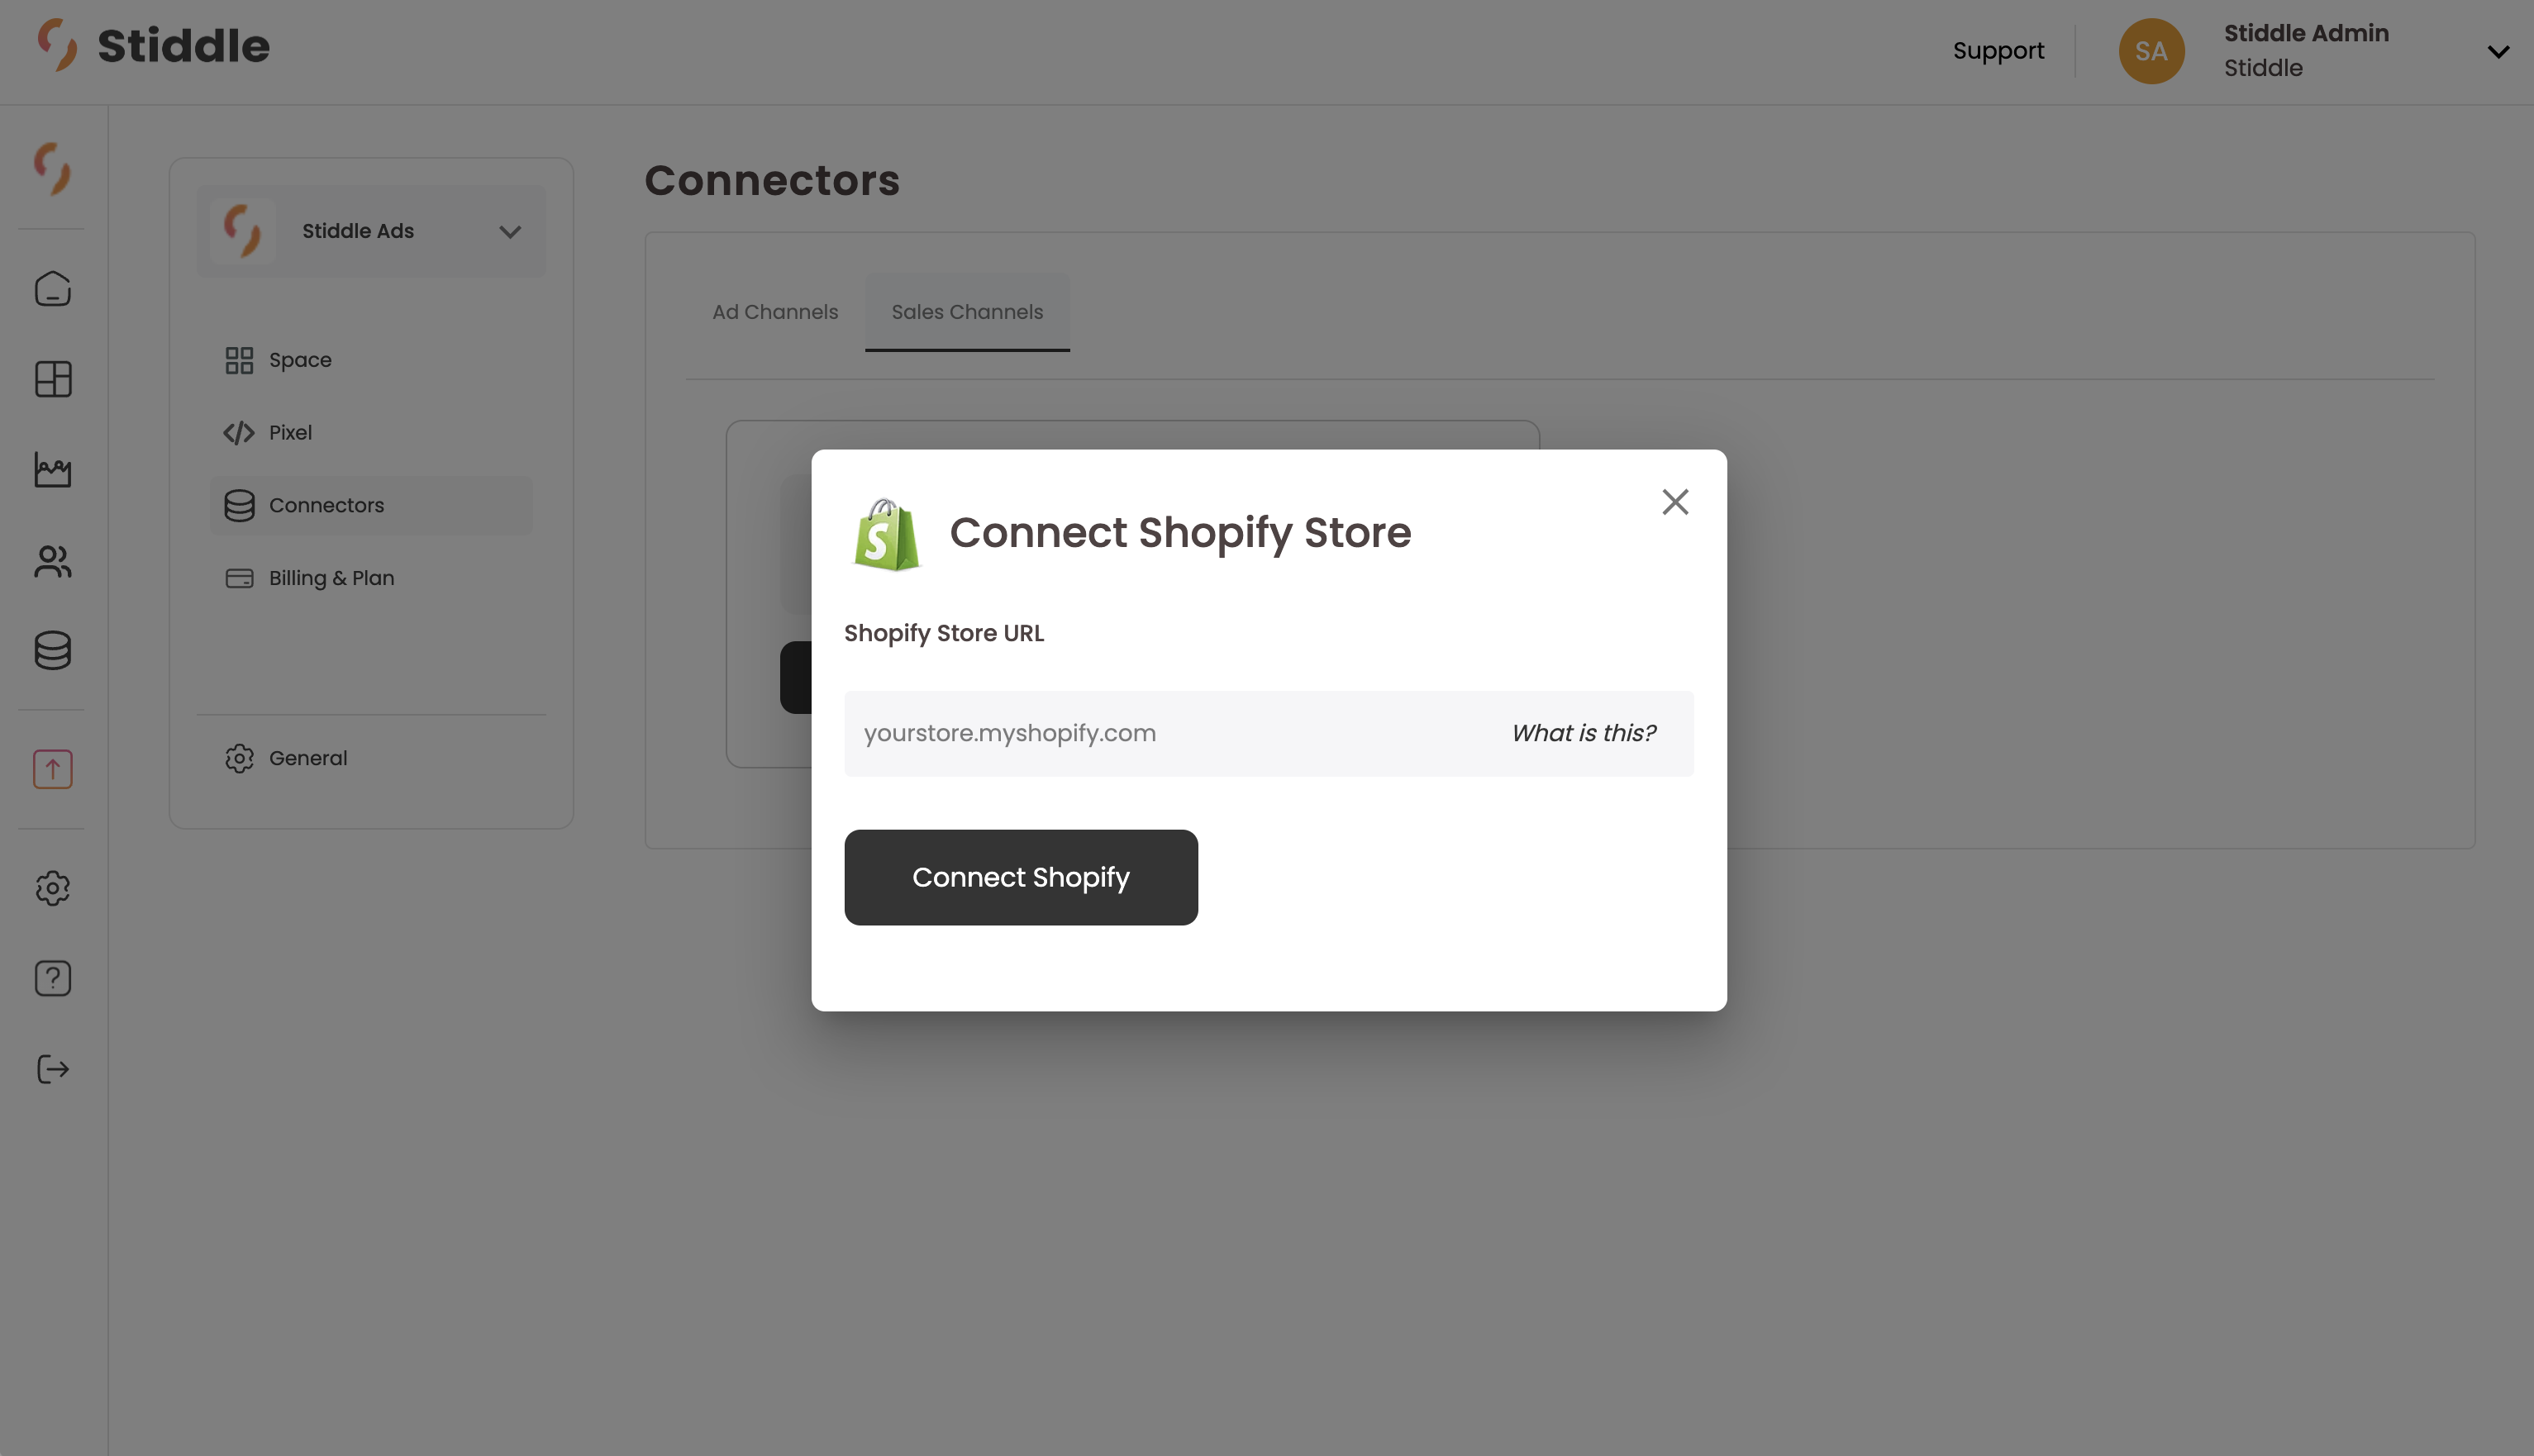
To connect Shopify, select the workspace you want to connect to. Once selected, navigate to the workspace settings and select “Connectors”.
Select “Sales Channels”, find Shopify, then select “Connect To Stiddle”.
- Syncing Past Customer Orders - Under 2,000 Orders
Setting Up Order Return Tracking
Use Stiddle’s refund webhook to track Shopify order returns in Stiddle. This allows you to track and update refunds in Stiddle Profiles. Stiddle will also automatically calculate ROAS, CV, net profit, and other attribution related metrics using the refund webhook. The refund webhook is very easy to setup with Shopify. Follow the below video for setup instructions.
<GIF 2>
Important Note Please note that only one Shopify store can be connected per Workspace. If you need to track additional Shopify stores, please create a new workspace then connect and set up Shopify tracking accordingly.
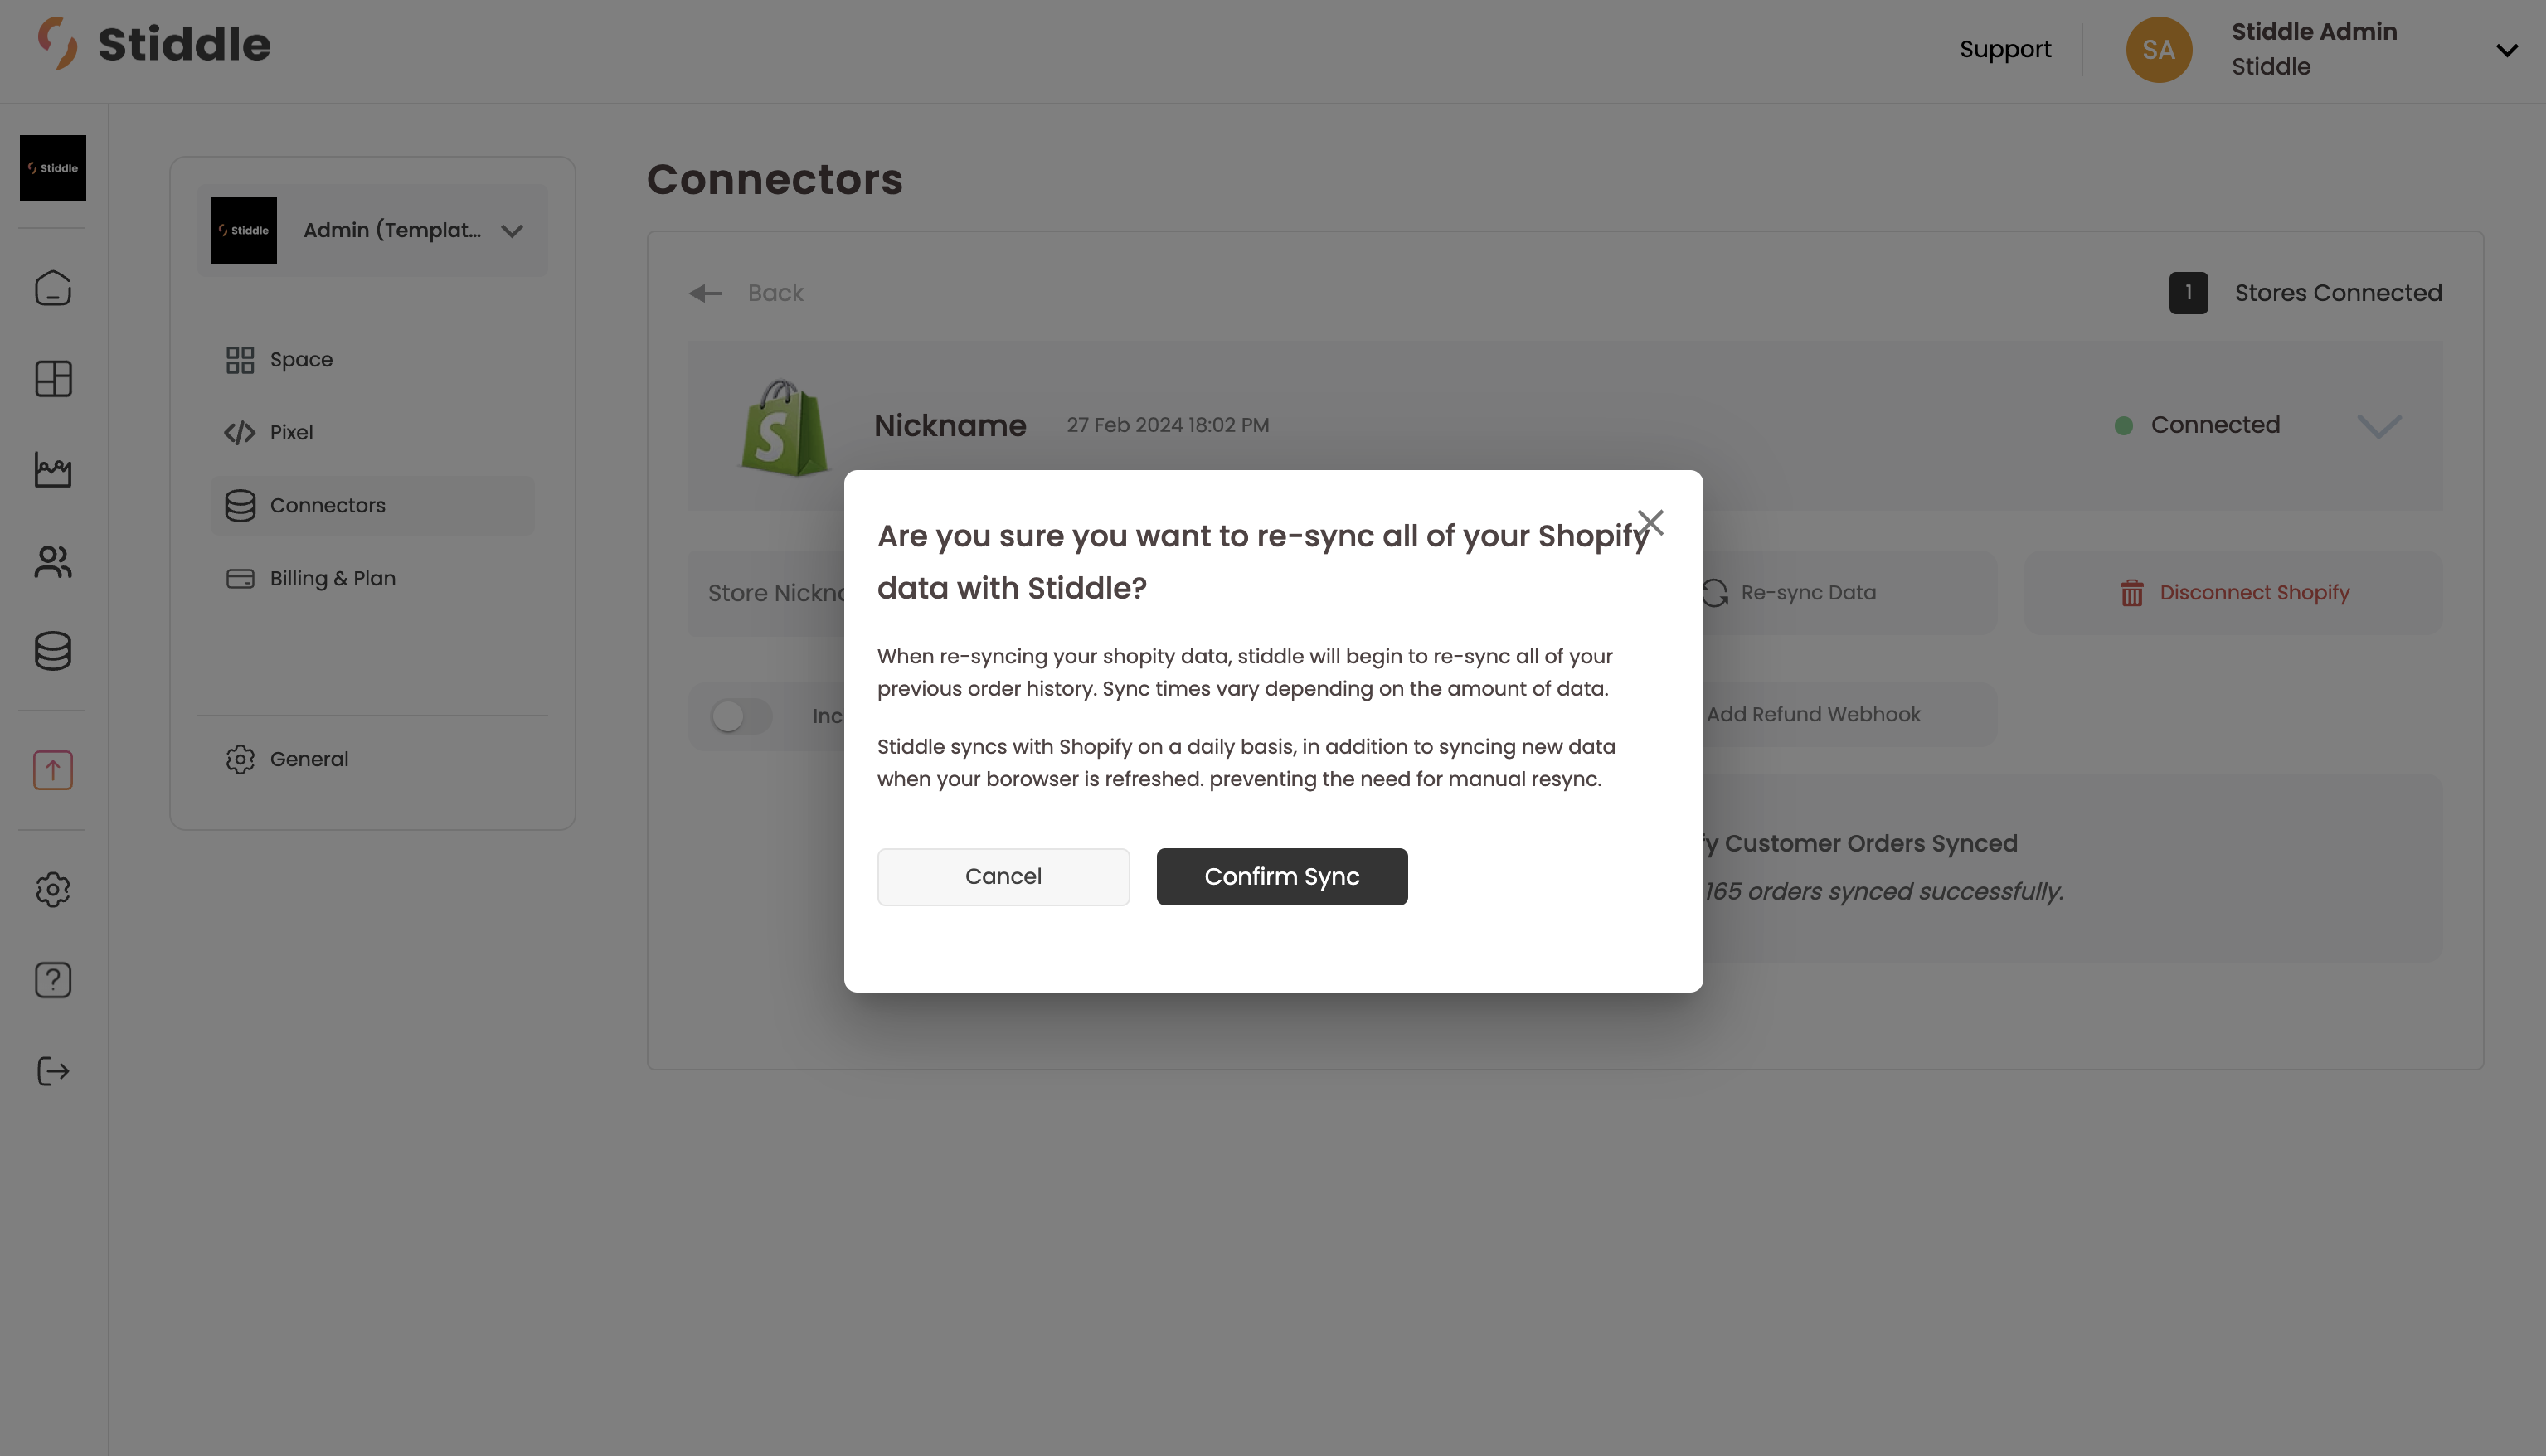
Re-syncing Shopify At anytime you can re-sync Shopify data with Stiddle, without disconnecting the integration. Remember that when re-syncing your Shopify data, Stiddle will begin to re-sync all of your previous order history. Sync times vary depending on the amount of data.
Stiddle syncs with Shopify on a daily basis, in addition to syncing new data when your browser is refreshed. This prevents the need for frequent manual re-syncs. That being said, we don’t recommend doing this often.